Don't want to read the Full Guide?
Use the quick links below to skip to the section you are interested in.
Choosing A Fish Finder
Mouting Options - Fish Finder Headunit
Power Source - Fish Finder Battery
Transducer Installation Options
- In-Hull
- Through-Scupper
- Arm-Mounted
Choosing A Fish Finder
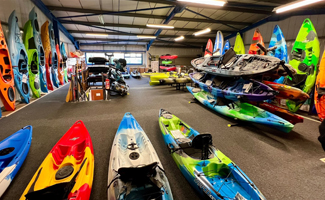
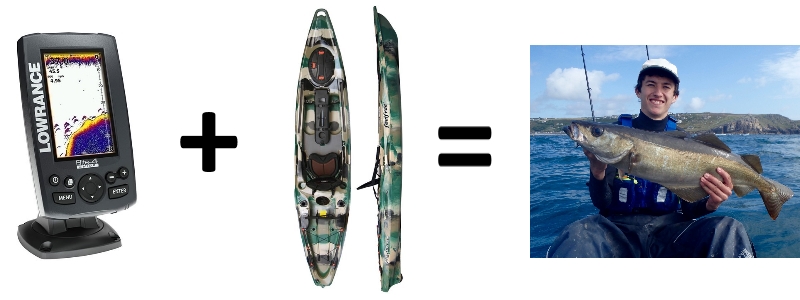
Fish finders are becoming a standard accessory to install on a fishing kayak. They provide an insight into the world beneath your kayak and can show you where shoals of fish are located in the water column. They also reveal the type of ground you are fishing over and this allows you to make decisions on where to fish based on your target species and their preferred habitat e.g. you would want to find reefs to fish over if you are targeting Pollack, or sandbanks to fish on if you are targeting flatfish. Fish finders really are a useful piece of technology that will assist in increasing your catch rate!
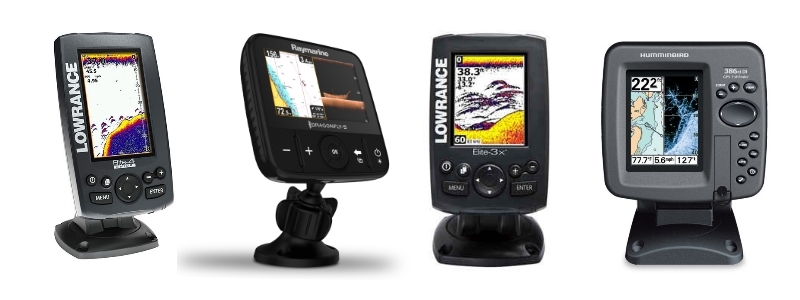
Various models of Fish Finder available through Cornwall Canoes
There are various models of fish finder with different features and specifications. They range from small compact units that reveal sonar images in colour, such as the Lowrance Hook2 4x and Lowrance Hook2 4x GPS to larger more advanced units that use the latest sonar technology to provide better fish finding capabilities over traditional sonar, and/or DownScan Imaging to reveal the bottom structure in fine detail, all of which is displayed on a large colourful screen. Units with such technology include the Garmin Striker Vivid 5cv and Raymarine 5 Pro.
Some units also have integrated GPS functionality. GPS provides a navigational tool within the unit allowing you to plot waypoints/markers and plot trails. Some units such as the Lowrance Hook2 4x GPS and the Garmin Striker Vivid 4cv have a basic GPS Plotter with no basemap (just a white screen) on which to plot your position (launch marks, fish hotspots etc.). Other units are more sophisticated and allow for full chartplotting functionality, such as the Lowrance Hook Reveal 5 and Raymarine 5 Pro. These units are usually supplied with a basic coastline map but will have an SD card slot to allow the user to buy and install high detail maps of the seabed, such as Navionics Charts. Detailed seabed maps will allow you to navigate to interesting looking features but also help you to plan drifts over reefs, drop-offs and sandbanks, and more importantly find your way back to shore should you find yourself stuck within a fog bank.
All fish finders come with the same standard items. In the box you will find the main display head unit, a mounting base, a transducer and wiring for the transducer and power source. Some fish finders may come with fixtures and fittings for installation on a boat but these are of little use on a kayak. Additional products need to be purchased in order to install a fish finder correctly on a fishing kayak but this will depend on where you plan to install the transducer.
Mounting Options - Fish Finder Headunit
All fish finders come with a mount as standard. This can be attached to a suitable position on the kayak deck using stainless steel bolts, marine trifold rivets or well nuts. The fish finder can then be attached to the mount when setting up before a session, and removed when your packing up, leaving only the mounting base on the hull.
A fish finder can also be attached to a kayaks slide rails if present. Mounting the fish finder on slide rails allows for the whole fish finder head unit to easily be removed at the end of a session. Feelfree produce a Uni Track Mounting Plate that can be used to mount a fish finder to any Feelfree fishing kayak that has the Uni Track slide rail systems. This includes the Moken 14, Moken 12.5, Lure 11.5, Lure 10.5 and Moken 10 lite.
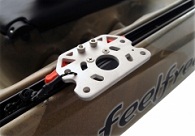
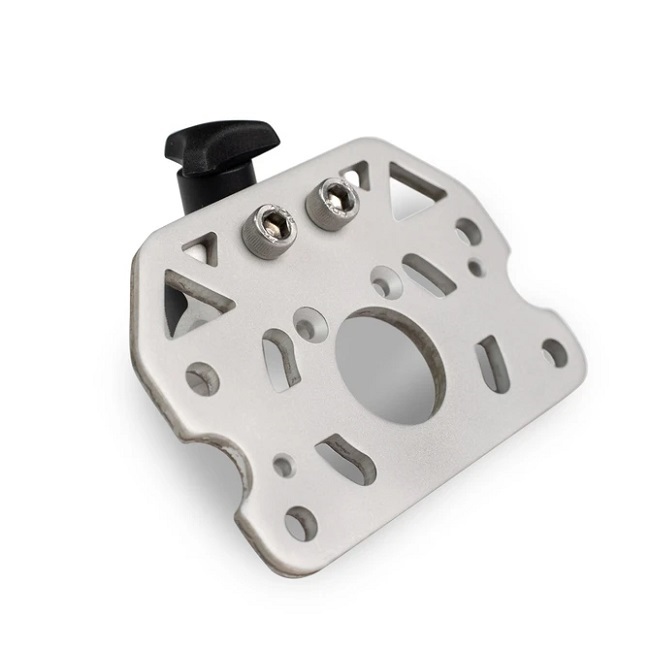
Feelfree Uni Tracks Mounting Plate System
Wilderness Systems produce a Trax Plate that can be used to mount a fish finder to any Wilderness Systems fishing kayak that has slide rails including the Tarpon 140, Tarpon 120, Tarpon 100, Thresher 140 and Thresher 155.
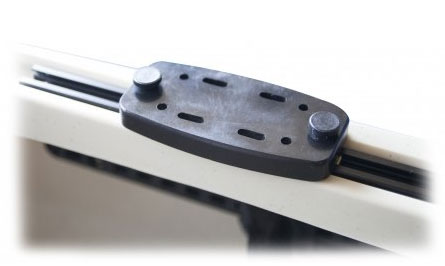
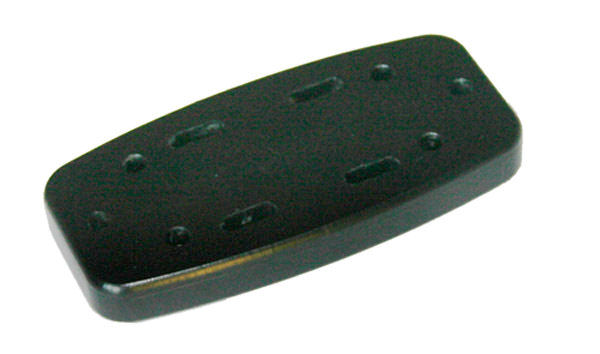
Wilderness Systems Slide Trax Mounting Plate System
The standard fish finder mount will allow for a certain degree of flexibility in the positioning of the fish finder screen. Some people prefer to upgrade to a more flexible Ram Mount Fish Finder Mount so that they can position the screen at the perfect angle for viewing. Ram Mounts offer a range of fish finder mounts that are compatible with practically every fish finder on the market. They do a specific mount for most popular fish finder models, including all those stocked by Cornwall Canoes.
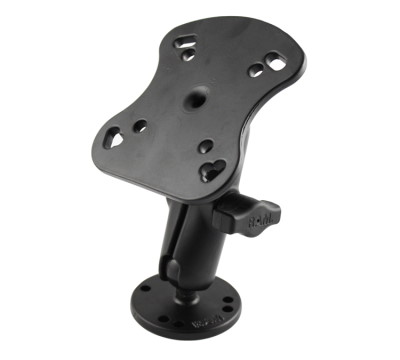
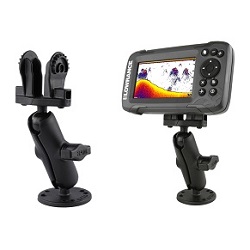
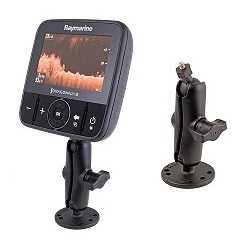
RAM Fish Finder Mounting Options
The Ram Mounts 1 inch Track Mount is compatible with most slide track systems including Ram tracks, Hobie H-Track, Scotty Tracks, Wilderness Systems Trax, Yakattack GearTrac and more. The 1 inch ball is then compatible with Ram fish finder mounts for 1 inch balls.
Power - Fish Finder Battery
A fish finder requires a 12V power source. The most popular product used for powering a fish finder is a 12V Sealed Lead Acid (SLA) battery. A 12V 7aH SLA battery provides ample charge for at least 1-2 fishing sessions. Once the battery charge has been run down it needs to be recharged and this is best done using a 12V trickle charger.
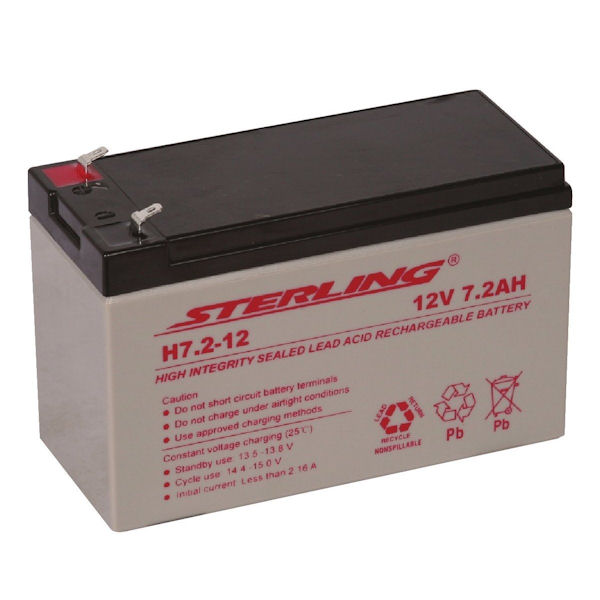
12v 7.2ah Sealed Lead Acid Battery Ideal for a Fish Finder
To ensure the battery stays dry it is usually placed inside a waterproof battery bag inside the hull although some people opt to keep it up on the deck secured to the kayak. If kept inside the hull the battery cable is routed through a waterproof deck seal.
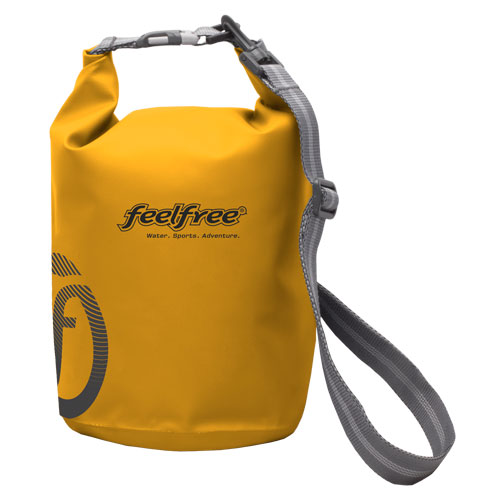
Feelfree 5 Litre Dry Tube - The Perfect Sized Battery Bag
Fish Finder Transducer Installation
The transducer is the component that produces the sonar signal. This transmits sound waves through the water column which then reflect off any solid structures and bounce back to the water surface. The transducer reads the reflected sonar signal and uses the time interval between the transmission of the signal and the following reception of the signal to calculate the depth of the water. This is then used to produce a graphical display of the bottom structure on the fish finder screen and reveal any fish shoals that are beneath the kayak. The transducer can be installed in 3 main ways: in the hull, through a scupper hole, or on a transducer arm over the side of the kayak.
Transducer Installation Options:
In-Hull
This is where the transducer is glued inside the kayak against the hull and is a widely used method within the kayak angling community. The transducer is glued to a clean flat section of hull, usually inside the bow hatch, using a marine grade contact adhesive such as Clear Sikaflex. The best way to ensure a solid fix is to build a small well from high density foam and fill it with enough Sikaflex to cover at least the bottom half of your transducer. The transducer can then be pushed into this and left to set against the hull.
The sonar shoots through-the-hull usually with great results. There may be slight interference of the sonar signal within the first few centimetres of depth reading on the display screen but overall there is very little, if any loss, of sonar resolution and is usually not even noticeable on the fish finder screen. If the fish finder is capable of producing temperature readings these will be affected as the transducer is not in direct contact with the water. Temperatures tend to read 1 or 2 degrees above the water temperature once the hull has been in contact with the water for a while. When using Sikaflex, or any other adhesive for transducer installation, you must ensure no air bubbles are present in the glue before installing the transducer. Air bubbles that get trapped between the transducer and the hull will cause reflection of the sonar signal and will appear as black lines on a fish finder display if they are present. Luckily this is easy to fix. Simply remove the transducer and adhesive from the kayak (this may require some gentle persuasion!), clean off the glue from the transducer and then re-glue it in place, hopefully this time without any bubbles in the glue! The best advice is to take your time with this step and have a practice run applying some Sikaflex to some scrap cardboard first.

Sikaflex - Transducer Installation Adhesive and Transducer Installation Pad
The transducer wire and connector plug must run back to the fish finder main head unit which will be mounted on the main deck. The wire and connector must pass through a drilled hole in the kayaks hull and to ensure waterproof cable routing a cable gland is used. A popular cable gland is the Scanstrut Deck Seal and this product is tested to IPX6 and IPX7 ratings and advertised as 100% waterproof if installed correctly. Scanstrut deck seals are available in 2 sizes dependant on the diameter of the connector plug which must pass through it. For Lowrance and Raymarine units this is the DS30-P deck seal for connectors up to 30mm, and for Humminbird units this is the DS16-P deck seal for connectors up to 16mm. To ensure minimal corrosion of fish finder electrical connector plugs and sockets applying a small amount of petroleum jelly or anti-corrision block to the metal connectors. A single deck seal can also be used to route the battery cable to the inside of the kayak. Installation of these deck seals is very easy and the instructions provided are very clear and easy to follow.
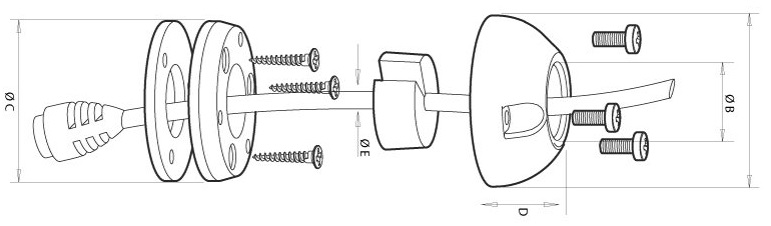
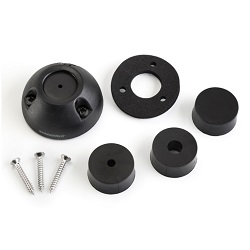
Scanstrut Deck Seal - Cable Gland for Cable Routing
This method of transducer installation can be used for any fishing kayak where you have access to the inside of the hull.
Through-Scupper
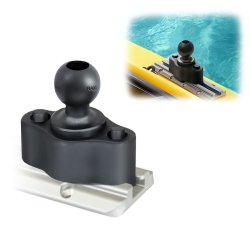
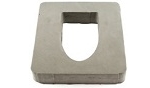
This is where the transducer is fixed underneath the kayak either against a scupper hole or more commonly inside a purpose moulded transducer scupper. The transducer cable then comes up through the scupper hole to the head unit. A popular product for use with the Lowrance range of fish finders is the Kayak Scupper Hole Transducer Mounting System. This method of transducer installation ensures the transducer is completely submerged in the water which will guarantee maximum sonar signal return sensitivity and ultimately a clearer definition of bottom structure and fish.
The Lowrance Scupper Hole Transducer Mounting System method of installation is compatible with the Lowrance range of fish finders.
Lowrance Transducer Mount for Kayak Scupper
This method of transducer installation can be used on most kayaks but is best used on models with a dedicated transducer scupper hole. This ensures the transducer sits flush with the hull of the kayak, protecting it from damage. The latest 2015 Hobie kayaks come Lowrance-ready with transducer scupper and deck seals designed to take the Lowrance range of fish finders.
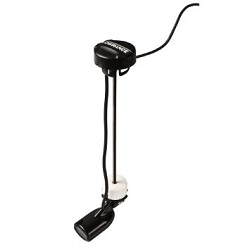
Arm-Mounted
This is where the transducer is mounted on the end of an arm which goes over the side of the kayak and into the water. This method of transducer installation ensures the transducer is completely submerged in the water which will guarantee maximum sonar signal return sensitivity and ultimately clearer definition of bottom structure and fish.
A popular product which allows for a transducer to be arm-mounted is the Ram Mount Transducer Arm that can be attached to the kayak via a ram ball. The Ram Ball can be fixed to the kayak using bolts, tri-fold rivets or well nuts. Alternatively, the ram ball can be attached to the kayaks slide rails, if present. The arm can easily be moved in and out of the water to prevent damage when paddling over shallow rocks or when launching/landing. This product is compatible with Lowrance, Raymarine, Garmin and Humminbird transducers.
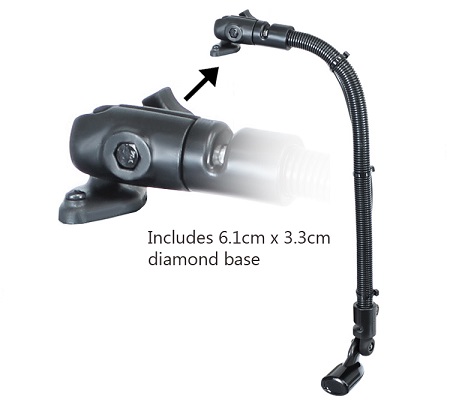
RAM Transducer Mounting Arm
This method of transducer installation can be used on any fishing kayak providing you are able to fit a Ram ball to the kayak, either fixed to the hull or on slide rails, if present. Other transducer arms are also available from Railblaza and Scotty.
If you require any advice on the information covered in this article, please get in contact with us and we will do our best to help!